Doing the same task over and over again can be quite a task. Cron job scheduling allows users to automate tasks on virtual instances or on any Unix-like operating system. This saves precious time, allowing users to focus on other essential tasks.
In this comprehensive beginner’s guide, you’ll learn the basics of cron jobs, including their types, syntax, special strings, and permissions. By the end of this article, you will be able to use cron jobs to schedule tasks more efficiently.
What is a cron job?
Cron is a utility program that allows users to enter commands to schedule tasks repeatedly at a specific time. Tasks scheduled in cron are called cron jobs. Users can determine what type of task they want to automate and when it should run.
Cron is a daemon, a background process that runs non-interactive jobs. On Windows, you might be familiar with background processes, such as services, that work similarly to the cron daemon.
A cron file is a simple text file that contains commands to run periodically at a specific time. The default system cron table or crontab configuration file is /etc/crontab.
Only system administrators can edit the system crontab file. However, Unix-like operating systems support multiple administrators. Everyone can create a crontab file and type commands to perform jobs anytime they want.
With cron jobs, users can automate system maintenance, disk space monitoring, and schedule backups. Due to their nature, cron jobs are great for computers that run 24/7, such as servers.
While cron jobs are primarily used by system administrators, they can also be beneficial for web developers.
For example, as a website administrator, you can set up a cron job to automatically back up your site every day at midnight, another to check for broken links every Monday at midnight, and a third to clear your site’s cache every Friday at noon.
However, like any other program, cron has limitations that you should consider before using it:
- the shortest interval between jobs is 60 seconds. With cron, you won’t be able to repeat a job every 59 seconds or less.
- Centralized on a computer. Cron jobs cannot be distributed to multiple computers on a network. So if the computer running cron crashes, scheduled tasks will not run and lost jobs can only be run manually.
- No automatic retry mechanism. Cron is designed to run at strictly specified times. If a task fails, it will not run again until the next scheduled time. This makes cron unsuitable for incremental tasks.
With these limitations, cron is an excellent solution for simple tasks that run at a specific time with regular intervals of at least 60 seconds
. If you want to schedule a
one-time job for later, you may want to use another method
.
Basic cron job operations
This tutorial will show you how to schedule cron jobs by entering commands into a shell program like Bash on Linux or another Unix-like
operating system.
Hostinger’s VPS hosting runs on a Linux-based operating system. Therefore, learning how to schedule cron jobs will significantly increase the efficiency of your work as a VPS administrator. The command line for VPS can be accessed via PuTTY SSH.
Before proceeding with the basic cron operations, it is essential to know the different configuration files of the cron job:
- The system crontab. Use it to schedule essential system-wide jobs that can only be changed with root privileges.
- The crontab user. This file allows users to create and edit cron jobs that apply only at the user level.
If you want to edit the system crontab, make sure that the current user has root privileges
.
The following are some basic operations that cron can perform
:
 To
Tocreate or edit a crontab file, type the following at the command line: crontab
-e
If no crontab files are found on your system
, the command
will automatically create a new one. crontab -e allows you to add, edit, and delete cron jobs.
You’ll need a text editor like vi or nano to edit a crontab file. When entering crontab -e for the first time, you will be asked to choose which text editor you want to edit the file with.
To view a list of active scheduled tasks on
your system, type the following command: crontab -l
If your system has multiple users, you can view their crontab file lists by entering the following command as superuser
: crontab -u username -l You can also easily
edit
other users’ scheduled jobs by typing the following crontab command:
sudo su crontab –
u username –
e
To grant yourself root privileges, add sudo su to the beginning of the command. Some commands, including this one, can only be executed by root users.
Finally, to delete all scheduled tasks in your crontab file and start over, type
the following command: crontab -r Alternatively, the following command is the same as crontab -r,
except that it will prompt the user for a yes/no option before removing crontab: crontab -i In addition to crontab, the root user
can also add cron jobs to etc/cron.d directory. It is best suited for running scripts for automatic installations and updates.
Note that the user adding cron jobs to this directory must have root access and comply with run-part naming conventions.
Alternatively, a root user can move their scripts to the following directories to schedule their execution:
/etc/cron.hourly/ – Run all scripts once an hour /etc/cron.daily/ – Run once a day. /etc/cron.weekly/ – Run once a week. /
- etc/cron.monthly
- – Run once a month. <img src="https://www.hostinger.co.uk/tutorials/wp-content/uploads/sites/2/2021/09/crontab-syntax.png" alt="" /
/
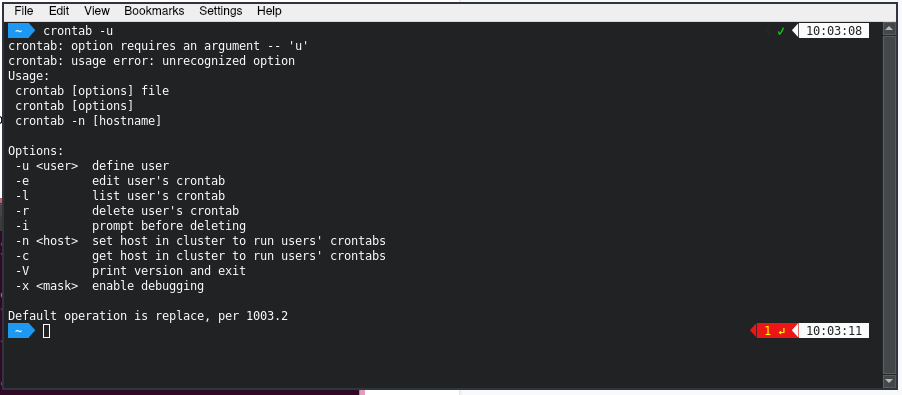
crontab
syntax To create a cron job, you must first understand cron syntax and formatting. Otherwise, it may not be possible to correctly configure cron jobs.
The crontab syntax consists of five fields with the following possible values:
- Minute. The minute of the hour in which the command will be executed, ranges from 0 to 59.
- hour. The time at which the command will be executed, ranging from 0 to 23 in the 24-hour notation.
- Day of the month. The day of the month on which the user wants the command to run ranges from 1 to 31.
- Month. The month in which the user wants the command to run, which runs from 1 to 12, representing January through December.
- Day of the week. The day of the week for a command to run, ranging from 0 to 6, representing Sunday through Saturday. In some systems, the value 7 represents Sunday.
Do not leave any of the fields blank
. If, for example,
you want to set up a cron job to run root/backup.sh every Friday at 5:37pm, here’s what your cron command should look like
: 37
17**5 root/copy of seguridad.sh
In the example above, 37 and 17 represent 5:37 pm. Both asterisks for the Day of the Month and Month fields They mean all possible values. This means that the task must be repeated regardless of the date or month. Finally, 5 represents Friday. The set of numbers is followed by the location of the task itself.
If you’re not sure about manually typing cron syntax, you can use free tools like Crontab Generator or Crontab.guru to generate the exact numbers for the time and date you want for your command.
To set the correct time for your cron command, knowledge of cron job operators is essential. Let you specify which values you want to enter in each field. You must use appropriate operators in all crontab files.
- Asterisk (*). Use this operator to indicate all possible values in a field. For example, if you want your cron job to run every minute, type an asterisk in the Minute field.
- Comma (,). Use this operator to enumerate multiple values. For example, typing 1.5 in the Day of week field will schedule the task to be performed every Monday and Friday.
- Hyphen (-). Use this operator to determine a range of values. For example, if you want to set up a cron job from June to September, typing 6-9 in the Month field will do the job.
- Separator (/). Use this operator to split a value. For example, if you want a script to run every twelve hours, type */12 in the Time field.
- Last (L). This operator can be used in the day of the month and day of the week fields. For example, typing 3L in the day of the week field means the last Wednesday of a month.
- Working day (V). Use this operator to determine the nearest day of the week from a given time. For example, if the 1st of a month is a Saturday, typing 1W in the day of the month field will run the command the following Monday (the 3rd).
- Hashish (#). Use this operator to determine the day of the week, followed by a number ranging from 1 to 5. For example, 1#2 means the second Monday of the month.
- Question mark (?). Use this operator to enter “no specific value” for the “day of the month” and “day of the week” fields.
Special
cron work
strings
Special strings are used to schedule cron jobs at time intervals without the user having to figure out the logical set of numbers to enter. To use them, type an @ followed by a simple phrase.
Here are some useful special strings you can use in commands:
- @hourly. The job will run once per hour.
- @daily or @midnight. These strings will run the task every day at midnight.
- @weekly. Use this to run jobs once a week at midnight on Sunday.
- @monthly. This special string executes a command once on the first day of each month.
- @yearly. Use this to run a task once a year at midnight on January 1.
- @reboot. With this string, the job will run only once at startup.
Cron syntax examples
Now that you know what cron syntax looks like, we’ll go over some examples to help you understand it better
.
Please note that the cron output will be automatically sent to your local email account. If you want to stop receiving emails, you can add >/dev/null 2>&1 to a command as in the following example: 0 5 * * * /root/backup.sh >/dev/null 2>&1 If you want to send the output to a specific email account, add
MAILTO followed by an email address. Here is
an example: MAILTO=”inbox@domain.tld” 0 3 * * * /root/backup.sh >/dev/null 2>&1
Take a look at the following example commands to better understand cron syntax
:
Cron permissions
The following two files can be created or edited to allow or restrict users from using the system cron file:
/
- etc/cron.allow – If cron.allow exists, it must contain a username
- – If cron.allow does not exist but cron.deny does, the user who wants to use cron jobs must not appear in the file.
to allow you to use cron jobs. /etc/cron.deny
Conclusion
Setting up automatically scheduled jobs is a handy solution that keeps you from forgetting important tasks
.
Cron jobs are a great way for system administrators and web developers to manage repetitive tasks. All you have to do is enter the right commands and choose the right runtime.
To schedule a cron job, use the correct syntax on the command line. Alternatively, you can employ special chains to facilitate the process. Remember to assign the appropriate permissions so that only authorized users can access the cron file.
If you’re looking for a WordPress-specific solution, check out our WordPress cron work tutorial.
We hope this article helped you understand the basics of using cron jobs to schedule tasks. If you have any questions, feel free to leave them in the comments section.